In this post, we will learn how to create a customizable three-column editor layout in SwiftUI for macOS, similar to those found in productivity apps like Xcode, Figma, Keynote, and Sketch. Although SwiftUI’s NavigationSplitView supports a three-column mode, it doesn’t quite fit the needs of a three-column editor style UI. We will explore how to set up the layout using NavigationSplitView and HSplitView to achieve the desired outcome.

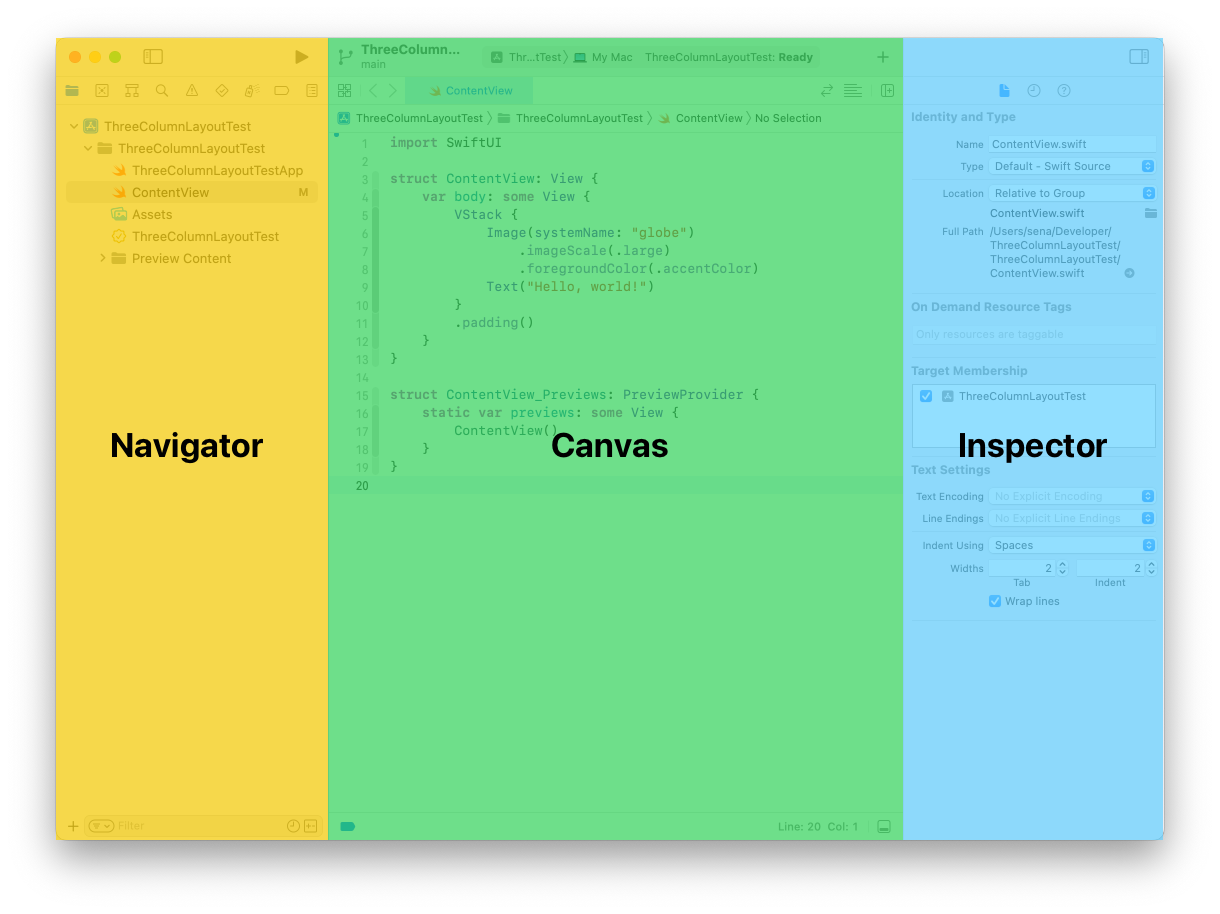
A typical three-column layout consists of a Navigator for selecting objects or entities, a Canvas for displaying the current state of a project, and an Inspector for viewing more details and changing specific values of the selected item. Users should be able to collapse and expand each column to manage screen space efficiently.

A three column layout example

Let’s set this up with NavigationSplitView.
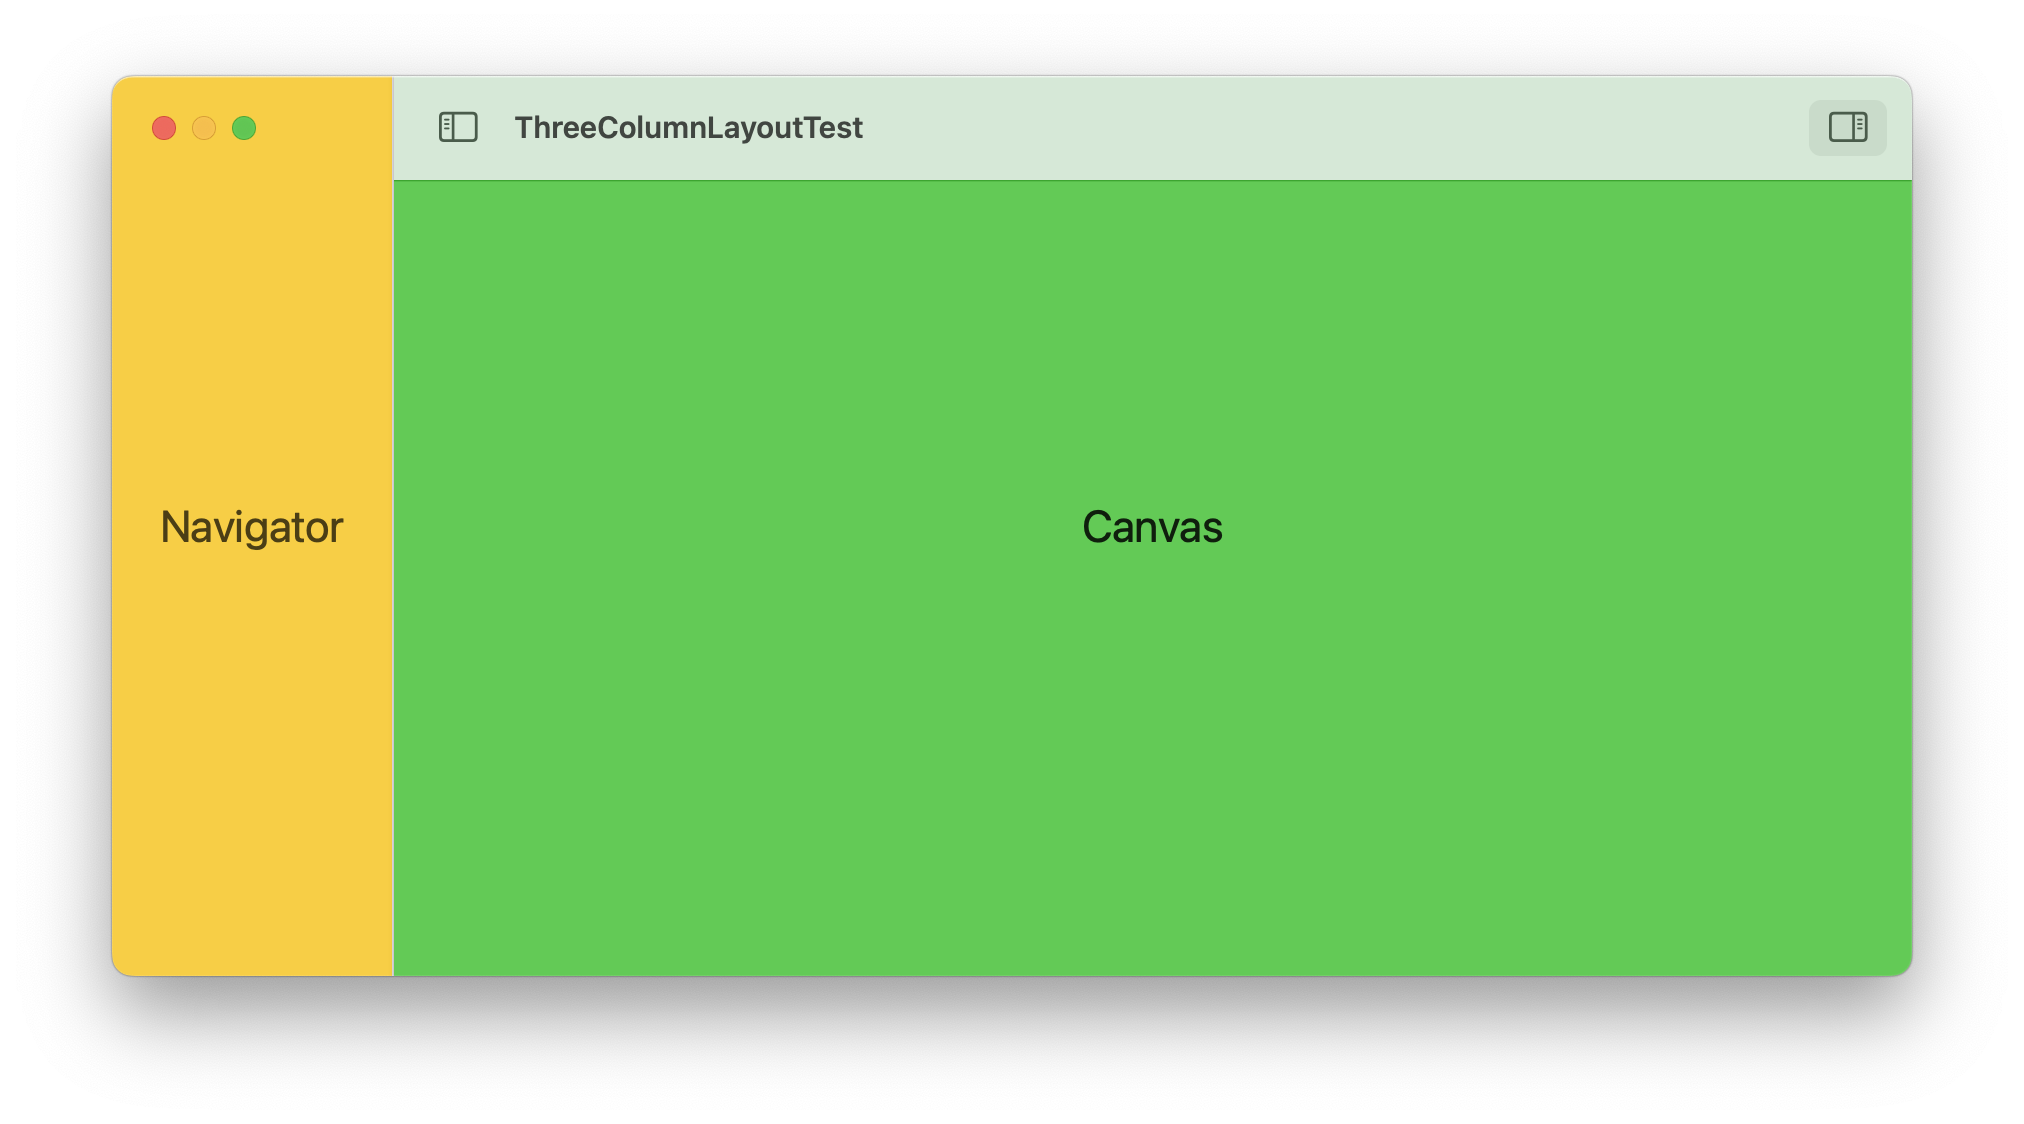
 1
 2
 3
 4
 5
 6
 7
 8
 9
10
11
12
13
14
15
16
17
18
19
20
21
22
23
24
25
26
27
struct ColumnView: View {
  let color: Color
  let name: String
  var body: some View {
    ZStack {
      color
      Text(name)
    }
  }
}

struct ContentView: View {
  @State var columnVisibility: NavigationSplitViewVisibility = .all
  var body: some View {
    NavigationSplitView(columnVisibility: $columnVisibility) {
      ColumnView(color: .yellow, name: "Navigator")
        .ignoresSafeArea()
    } content: {
      ColumnView(color: .green, name: "Canvas")
        .ignoresSafeArea()
    } detail: {
      ColumnView(color: .blue, name: "Inspector")
        .ignoresSafeArea()
    }
    .font(.title)
  }
}

This creates:

The resulting mac app from the above code.

Which is great and pretty close to what Keynote looks like:

Keynote 3 column example

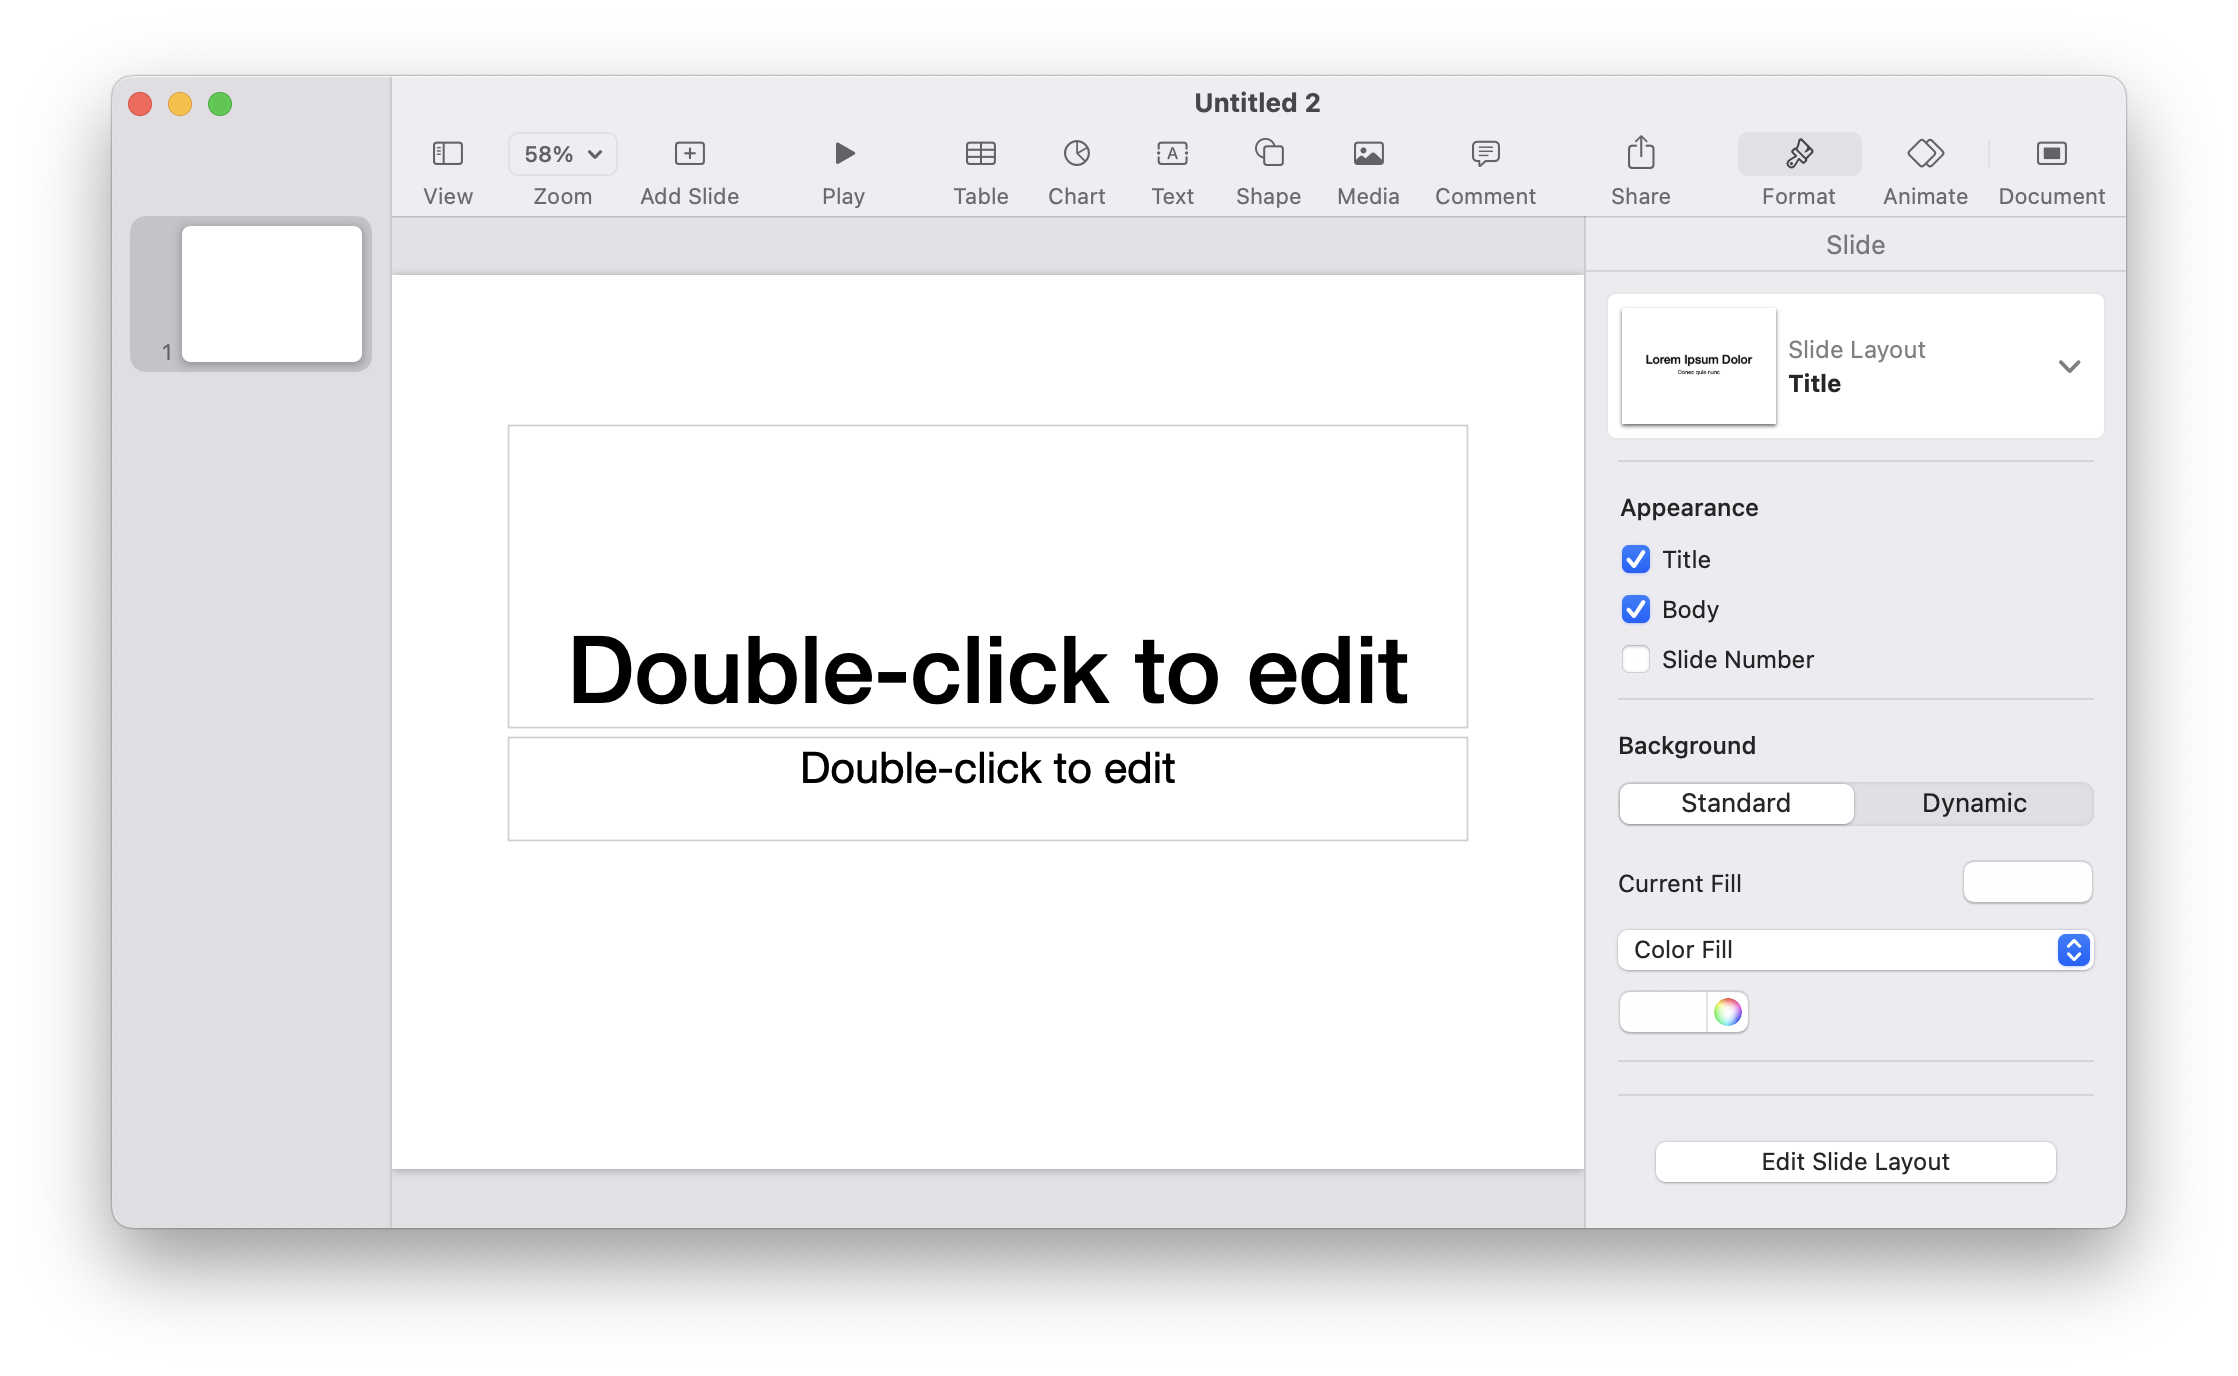
Pretty close, but not quite there…

NavigationSplitView is supposed to support a modifier navigationSplitViewColumnWidth(min:ideal:max:) that can be placed on each of the columns to set the min/idea/max width. However it doesn’t work on the detail column.

 1
 2
 3
 4
 5
 6
 7
 8
 9
10
11
12
13
NavigationSplitView(columnVisibility: $columnVisibility) {
  ColumnView(color: .yellow, name: "Navigator")
    .ignoresSafeArea()
} content: {
  ColumnView(color: .green, name: "Canvas")
    .ignoresSafeArea()
} detail: {
  GeometryReader { proxy in
    ColumnView(color: .blue, name: "Inspector, size: \(proxy.size)")
  }
  .ignoresSafeArea()
  .navigationSplitViewColumnWidth(ideal: 200, max: 300)
}

Results in a split view with width greater than 300:

Broken detail max width

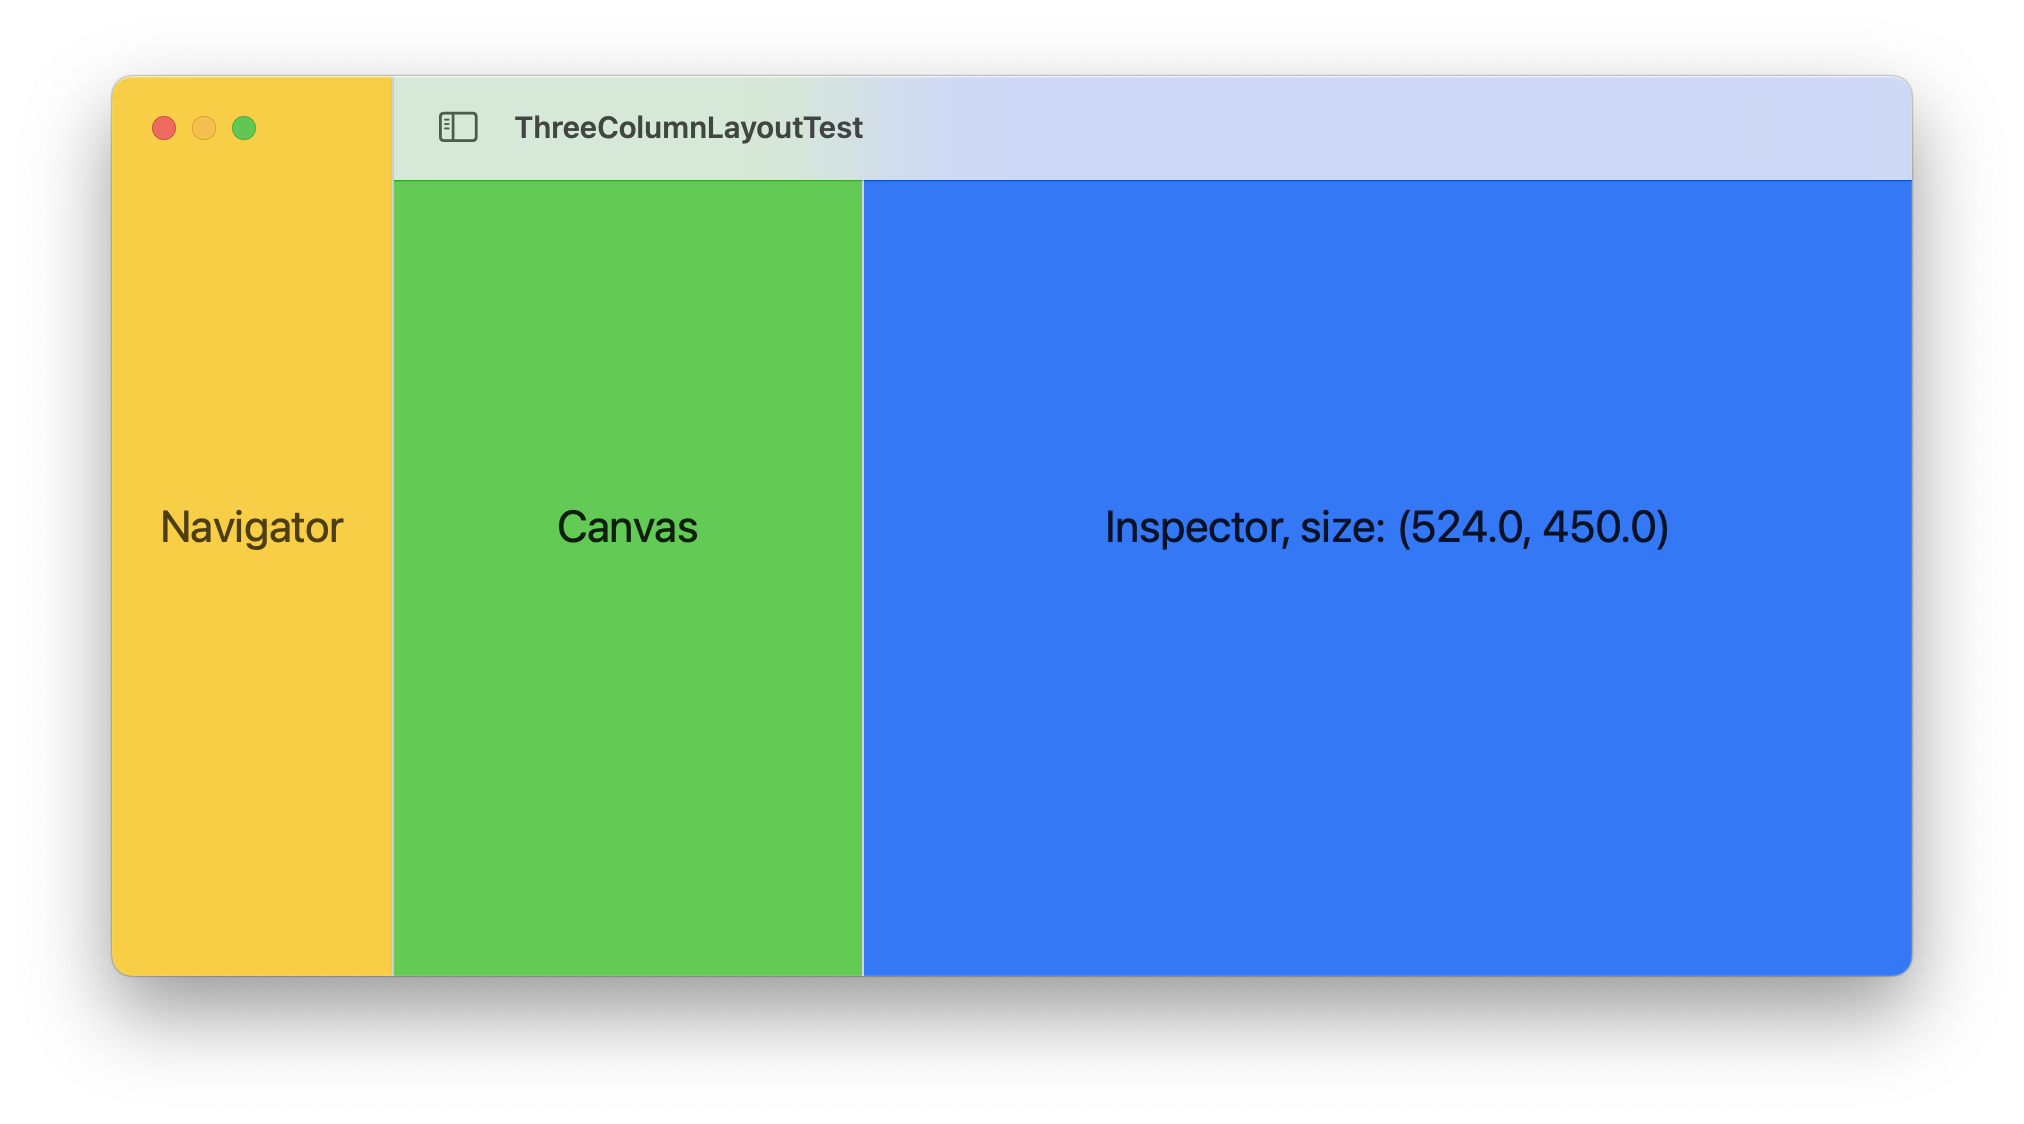
Additionally there is no way to set the detail column to be hidden with a toolbar button.

For instance creating a new boolean @State variable and setting maxWidth to 0 when false for the inspector results in a missing third panel without relaying out the canvas.

Broken detail zero max width

 1
 2
 3
 4
 5
 6
 7
 8
 9
10
11
12
13
14
15
16
17
18
19
20
21
22
23
24
25
26
27
28
struct ContentView: View {
  @State var columnVisibility: NavigationSplitViewVisibility = .all
  @State var inspectorVisible: Bool = true
  var body: some View {
    NavigationSplitView(columnVisibility: $columnVisibility) {
      ColumnView(color: .yellow, name: "Navigator")
        .ignoresSafeArea()
    } content: {
      ColumnView(color: .green, name: "Canvas")
        .ignoresSafeArea()
    } detail: {
      ColumnView(color: .blue, name: "Inspector")
        .frame(maxWidth: inspectorVisible ? .infinity : 0)
      .ignoresSafeArea()
      .toolbar {
        ToolbarItem {
          Button {
            inspectorVisible.toggle()
          } label: {
            Image(systemName: "sidebar.right")
          }

        }
      }
    }
    .font(.title)
  }
}

What Worked

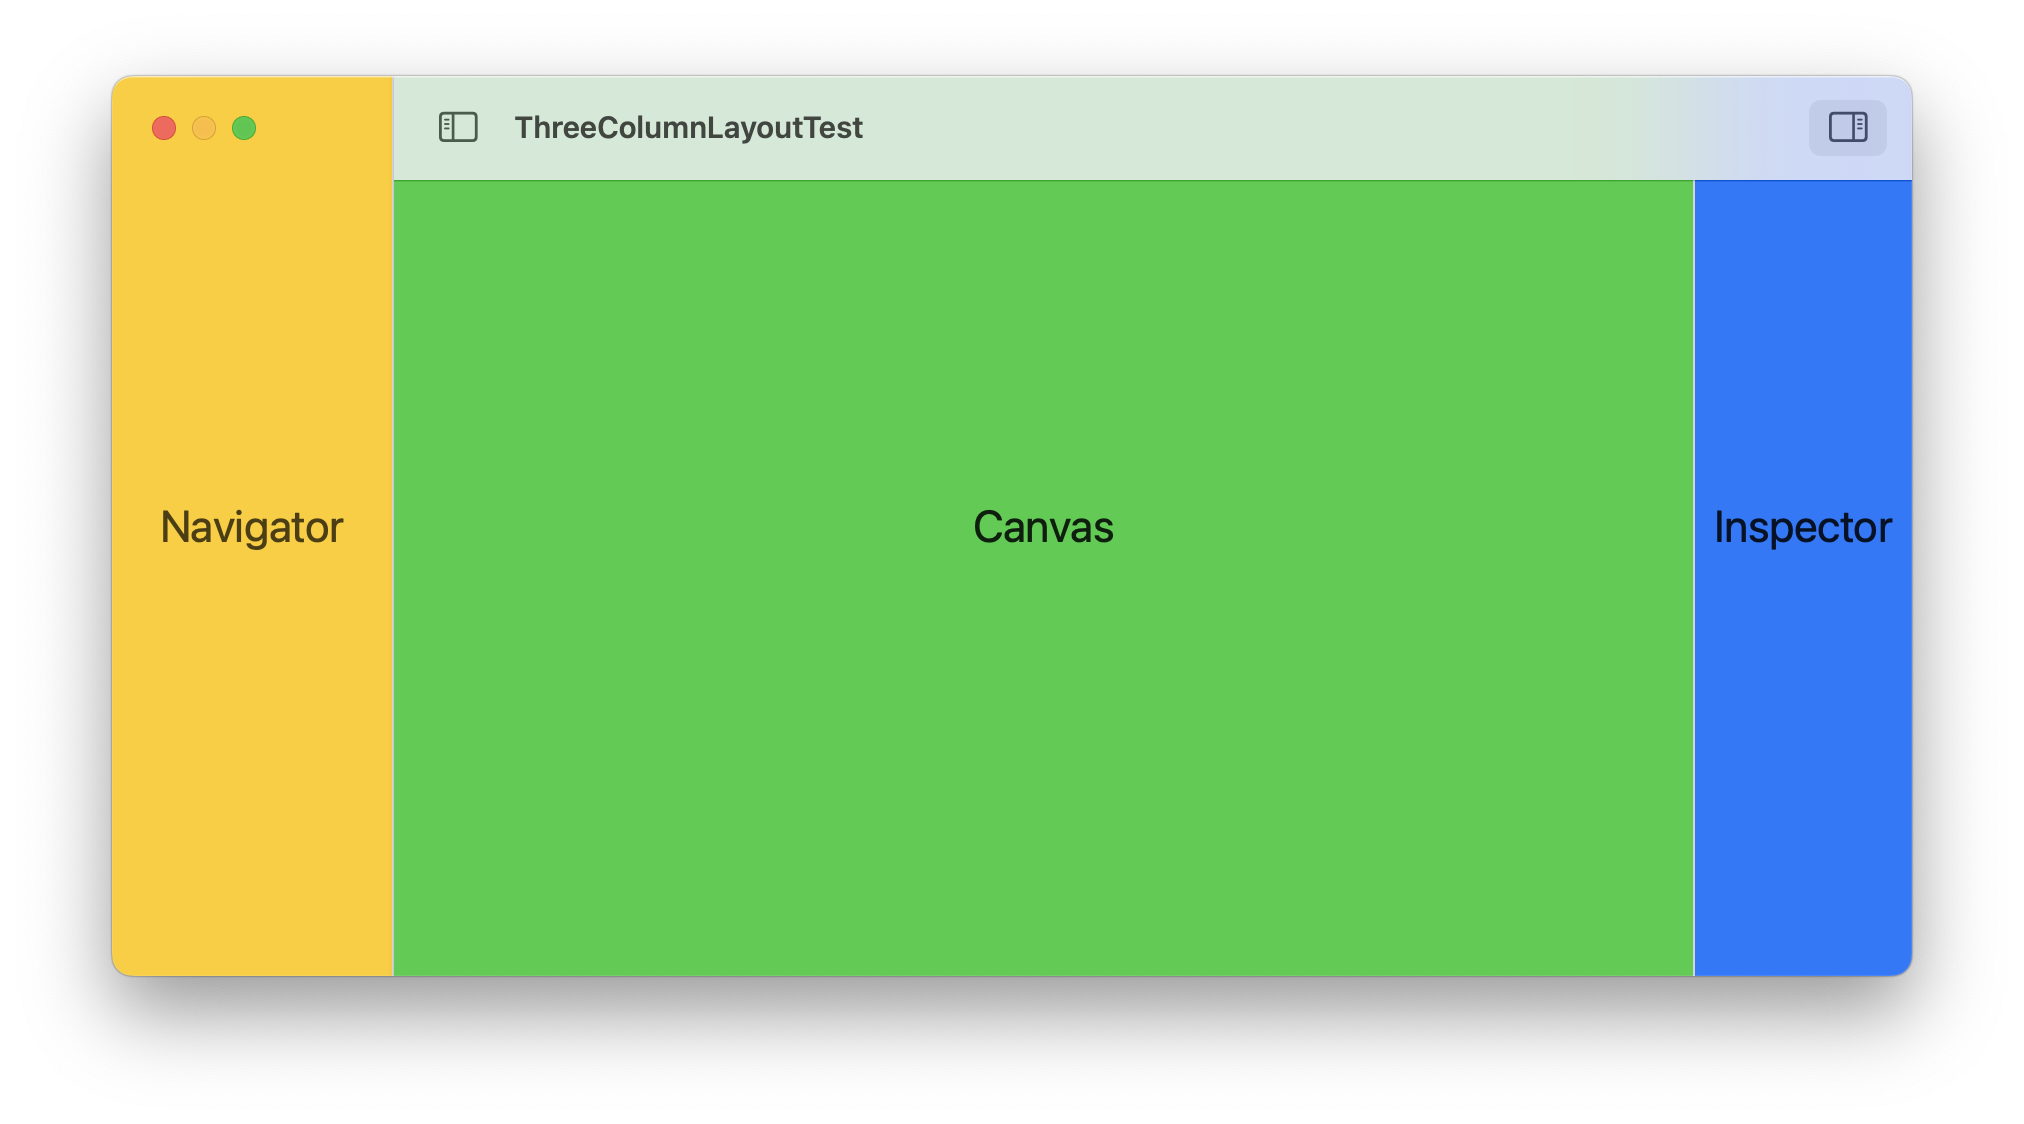
What worked up well enough for me was to use the, sparsely documented, HSplitView inside of a two column NavigationSplitView.

 1
 2
 3
 4
 5
 6
 7
 8
 9
10
11
12
13
14
15
16
17
18
19
20
21
22
23
24
25
26
27
28
29
struct ContentView: View {
  @State var columnVisibility: NavigationSplitViewVisibility = .all
  @State var inspectorVisible: Bool = true
  var body: some View {
    NavigationSplitView {
      ColumnView(color: .yellow, name: "Navigator")
        .ignoresSafeArea()
    } detail: {
      HSplitView {
        ColumnView(color: .green, name: "Canvas")
          .ignoresSafeArea()
        if inspectorVisible {
          ColumnView(color: .blue, name: "Inspector")
            .ignoresSafeArea()
        }
      }
      .toolbar {
        ToolbarItem {
          Button {
            inspectorVisible.toggle()
          } label: {
            Image(systemName: "sidebar.right")
          }
        }
      }
    }
    .font(.title)
  }
}

Now the inspector can be open and closed

OpenClosed
OpenClosed

There are still some downsides to this approach.

It is impossible to set a maxWidth on the inspector and have the HSplitView respect that width. When dragging the split view divider you will get empty space where the view failed to grow in width. I couldn’t capture a screenshot of this in action because dragging breaks the divider gesture but a screen recording capture shows it. Note the inspector should have not moved with the divider and been fixed at 300 points on the right here.

Broken split view

There is no way to set a minnimumThickness and canCollapse properties to enable dragging to the side of the window and have the inspector shrink to minnimum size first then collapse to zero width like with NSSplitViewController.

p.s. I attempted to reimplement HSPlitView by adopting NSViewControllerRepresentable on top of NSSplitViewController, this works but the challenges bridging from SwiftUI through AppKit/UIKit to another SwiftUI hierarchy and maintaining the Environment/Preferences will be the subject of another blog post.

Sample code for this post can be found here.